


What is Portainer?
- Portainer is one of the most popular container management platforms.
- It can be deployed anywhere, be it cloud, local machine or hybrid and gives user visibility across multiple container environments through a single interface.
Features of Portainer
- Application Deployment - It provides a clean GUI for managing, deploying and automating the deployment process.
- Observability & Triage - Monitor the performance and behaviour of containerized applications
- Centralized IAM - Assign who can do what with the team and roles
- Platform Management - Set up and configure your environment - on-prem, in the cloud or at the edge.
Installing Portainer
You must have docker or docker desktop on your machine pr server to install Portainer via docker. You can check about installing docker from here.
If you have Docker Desktop, you can install it directly via the extension tab. We will use the terminal to install it. I am using WSL2 for Windows here to install it.
- First, we need to make a volume for Portainer Server to store its database.
docker volume create portainer_data
- Now, we have to download and install Portainer
docker run -d -p 8000:8000 -p 9443:9443 --name portainer --restart=always -v /var/run/docker.sock:/var/run/docker.sock -v portainer_data:/data portainer/portainer-ce:2.9.3
- You can now go to your localhost on port 9443 to start using Portainer
https://localhost:9443
Now you can sign up and will be introduced to the home page of Portainer.
Making a new Container
You can now go to the dashboard to see your local machine and can get a good brief status of your local docker environment.
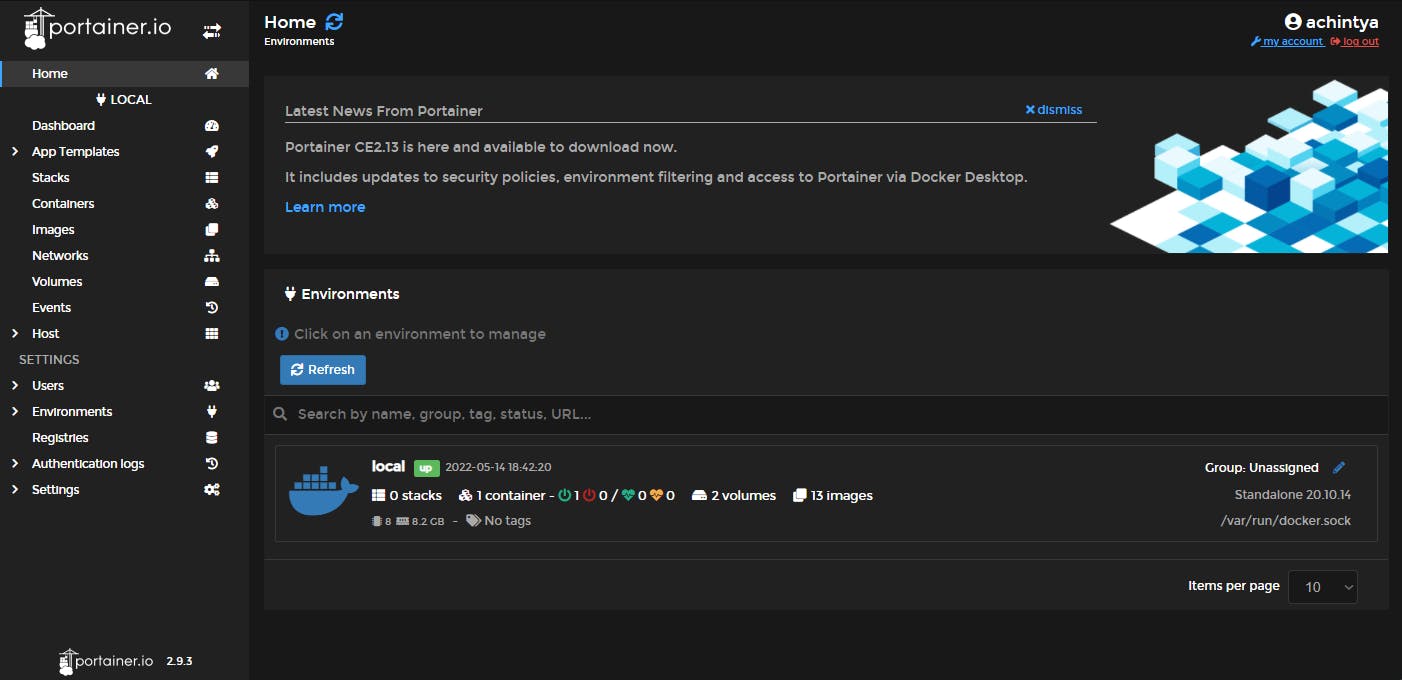
Let's click on it and explore
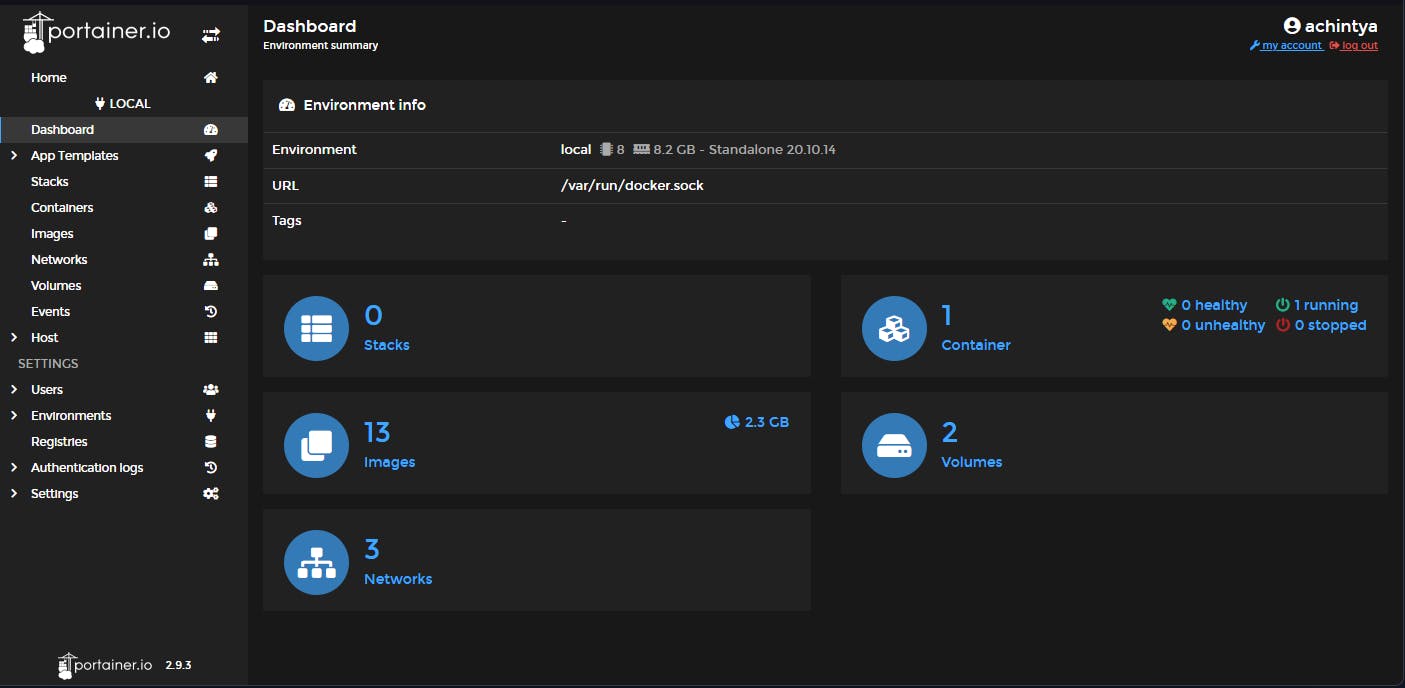
We see a clean UI and get information on all the resources or local docker environment is using. Let's try adding a new docker image from the docker hub. Let's now make a new container and install Nginx in it. Go to container and press add a container.
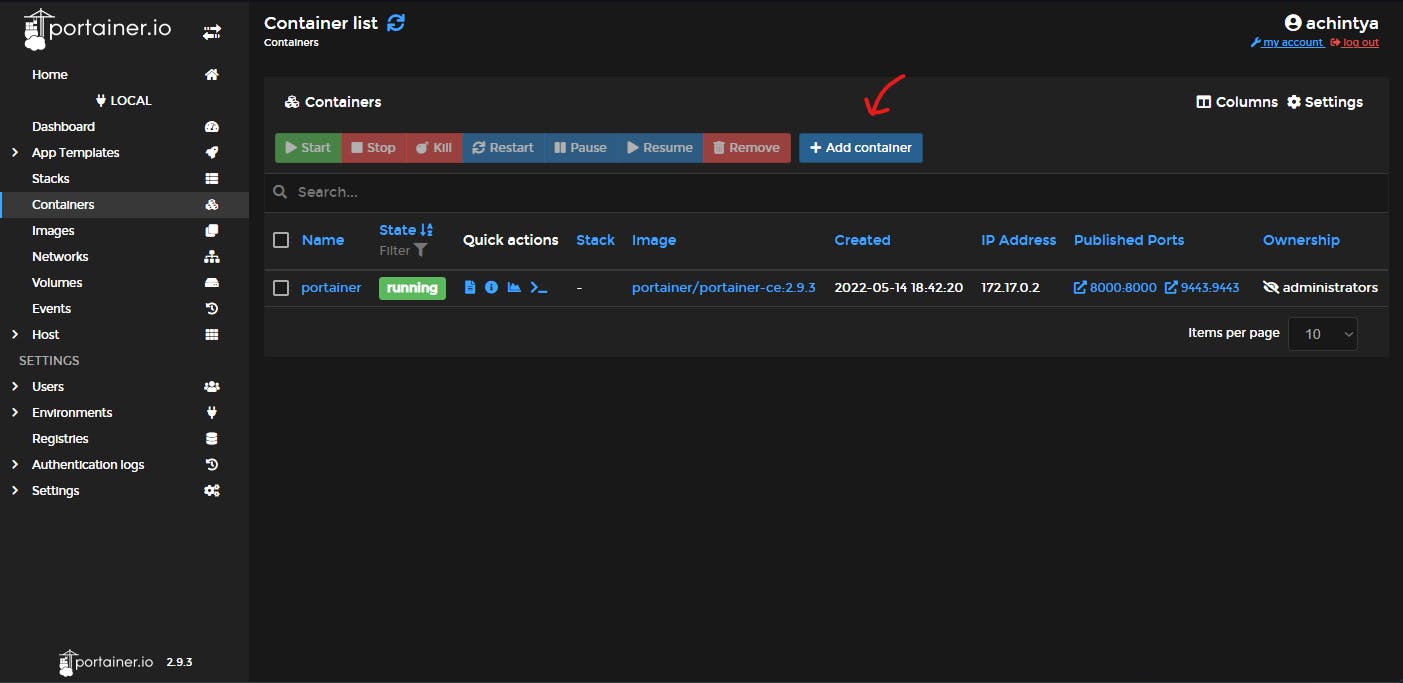
You can fill in the information like name and port with whatever parameters you like or you can follow my configurations. You can also search all images by using the image search field as well. For this blog's purpose, let's install Nginx.

Click on Deploy the Container and voila! Your container is created and running after the loading. You can now click that container and get all the information about it.
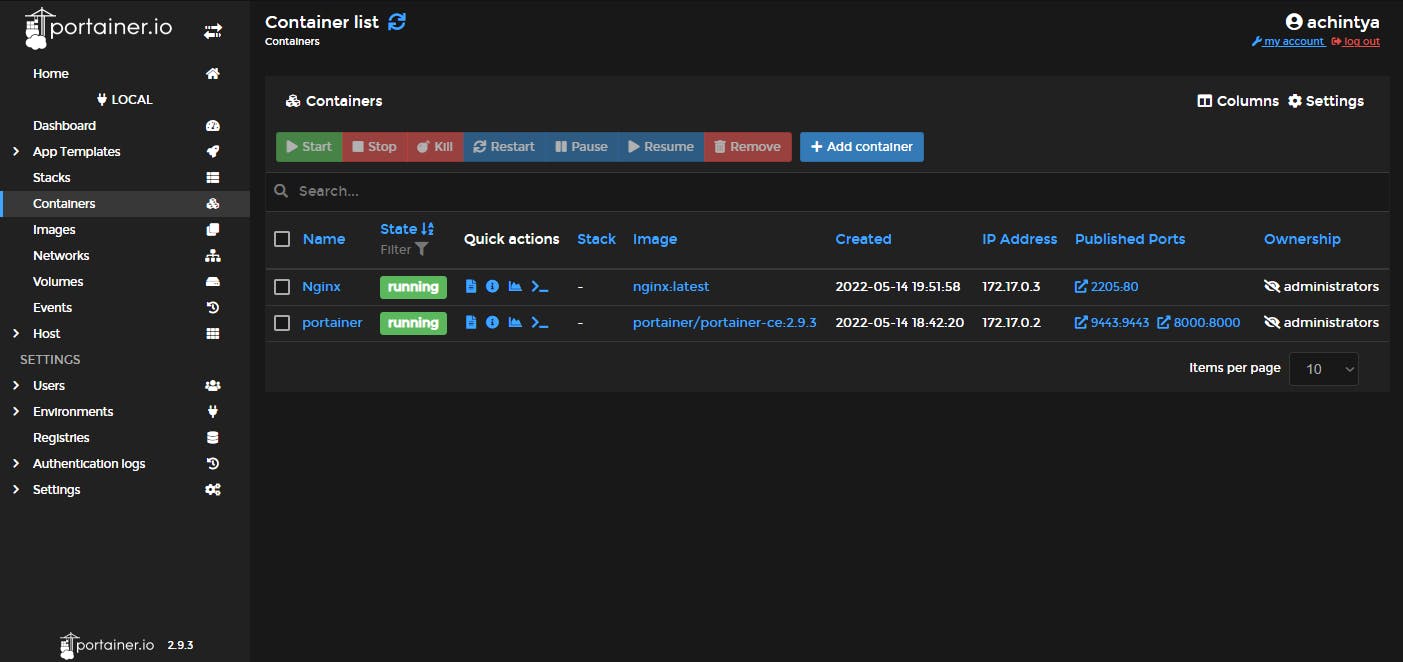
You can now go to the mentioned port and start using Nginx.
IAM Features
Let's look at the IAM features in Portainer. In portainer, you can add other users and assign roles to them as well. A very necessary feature for organizations very easily implemented from here. In Setting go to user and add a new user.
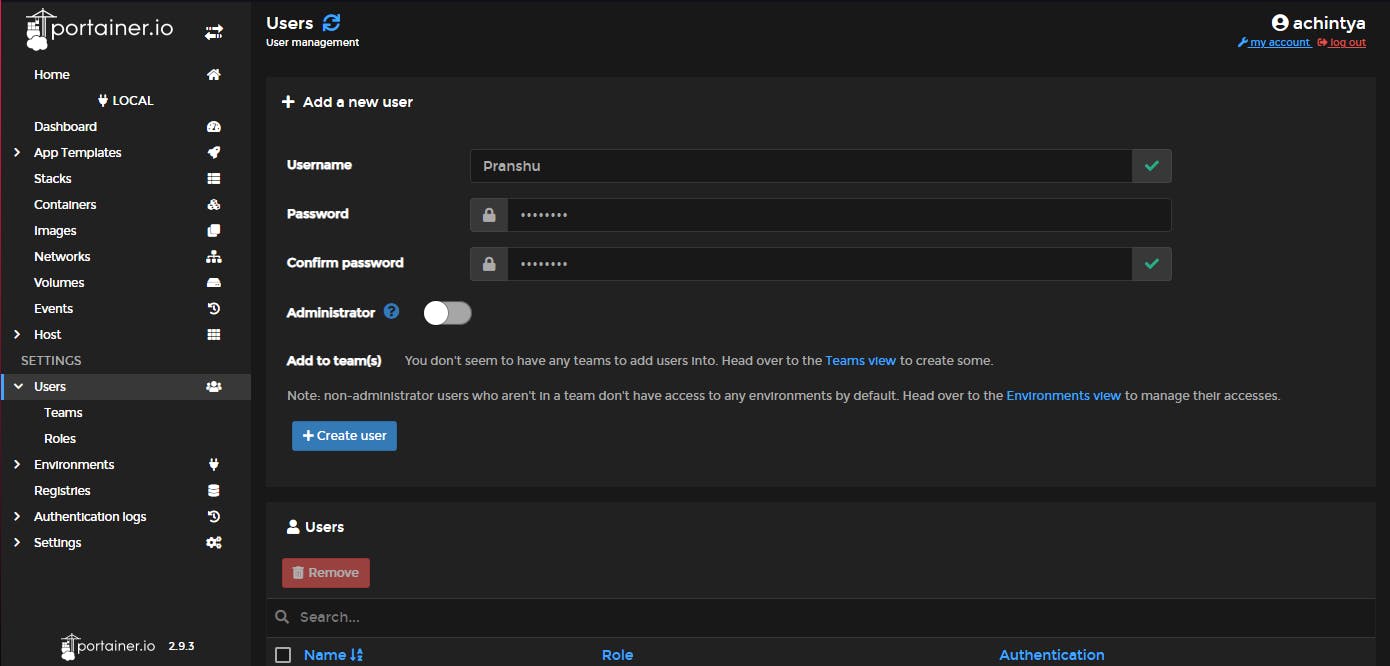
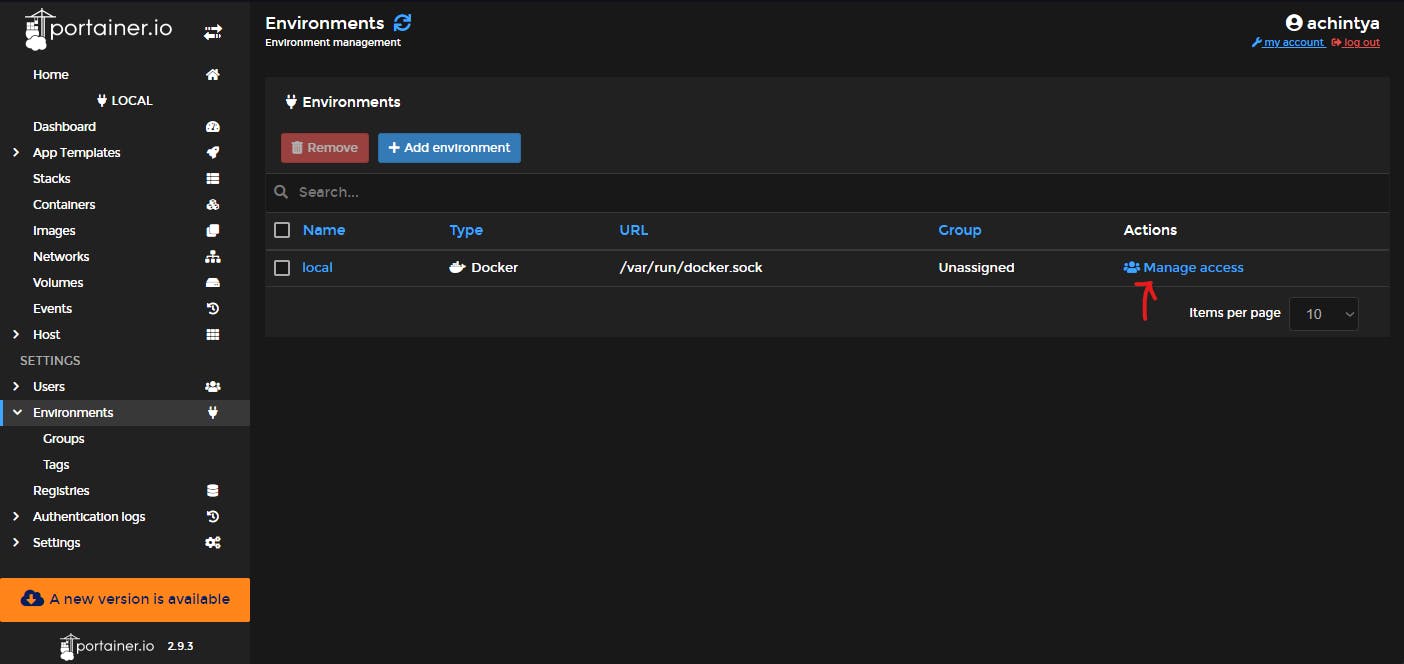
After adding the information, click Create user. On the free tier of Portainer, only standard role can be assigned to a user. You now have to give this user access to any of the environments being maintained by the portainer. Go to Environments in the sub-menu and select Manage Access.
You can now select the user and assign his/her role.
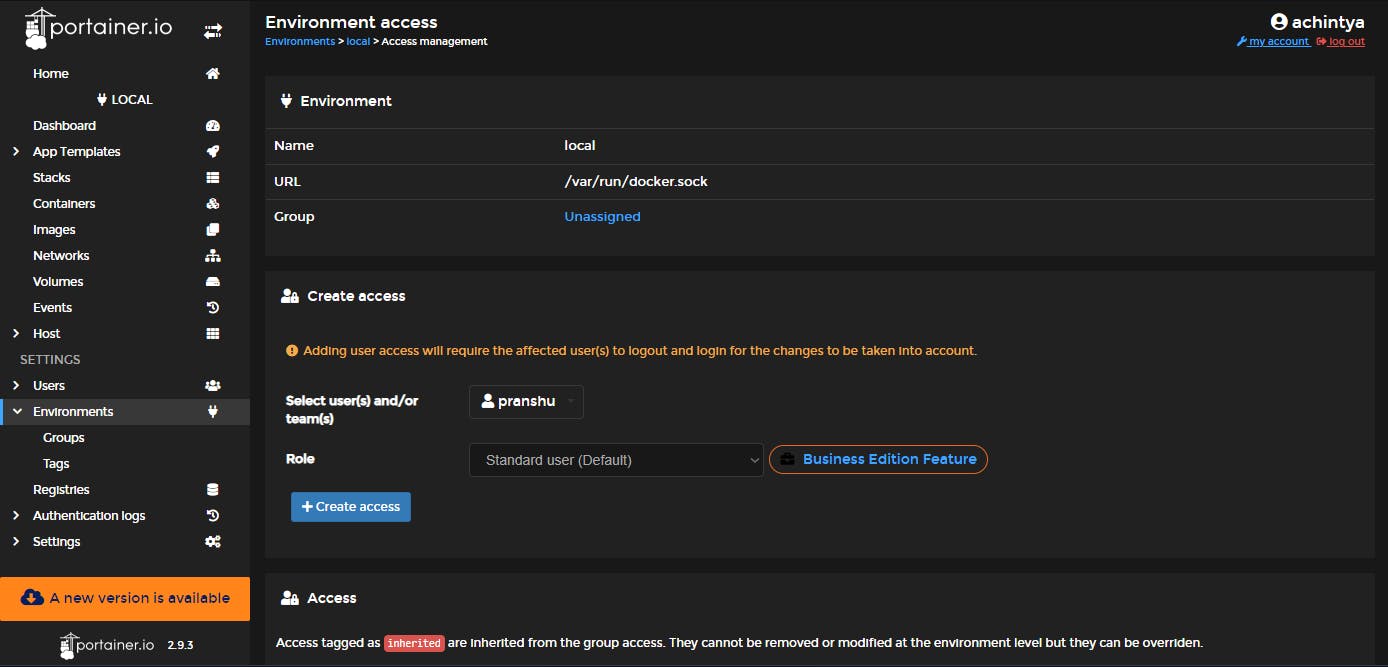
Just click Create Access and a new user is now assigned. Let's log out and sign in from the new user. You can log out by clicking on the top right button.
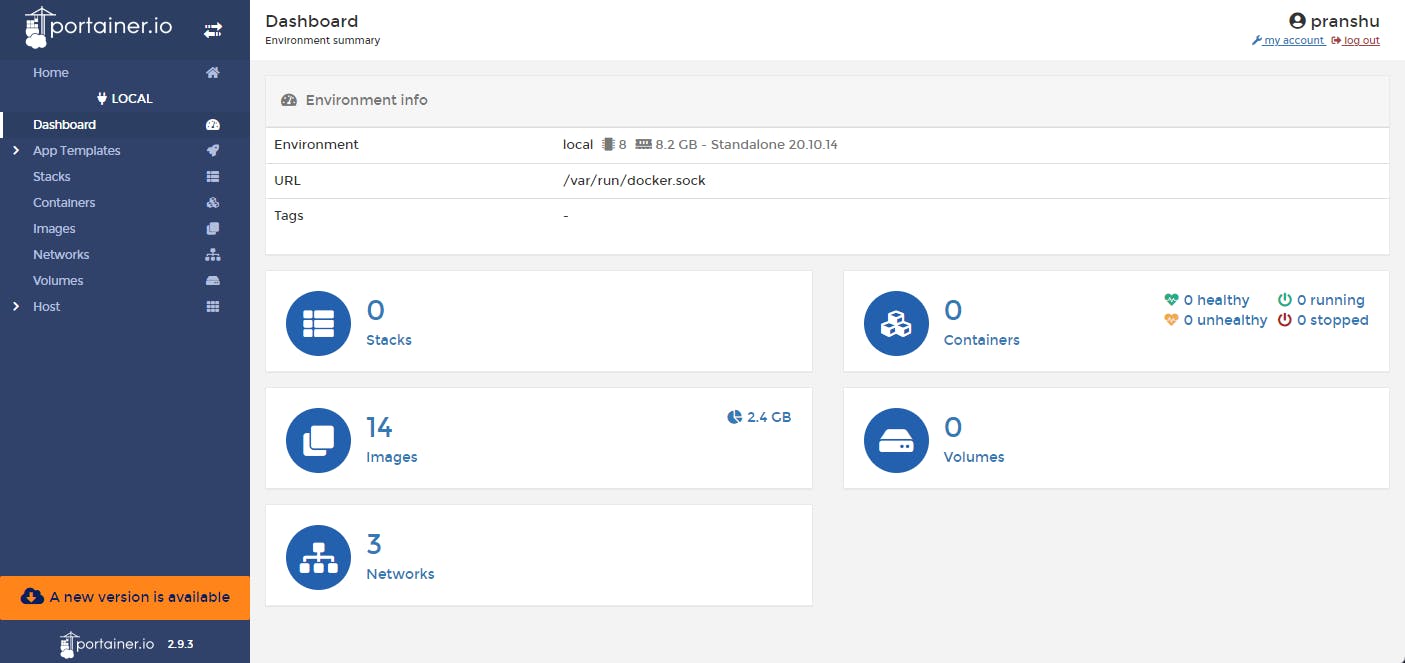
As you can see, the non-administrative new user doesn't have access to other containers but can make his new containers. This also applies to other aspects like volumes and images.
Let's create a new container by using App Template. Go to App Template in the sub-menu and select a container template you want to start. I am going to install a node.js server. Click on it and fill in the parameters.

Just click Deploy the Container and now we have a node.js server.
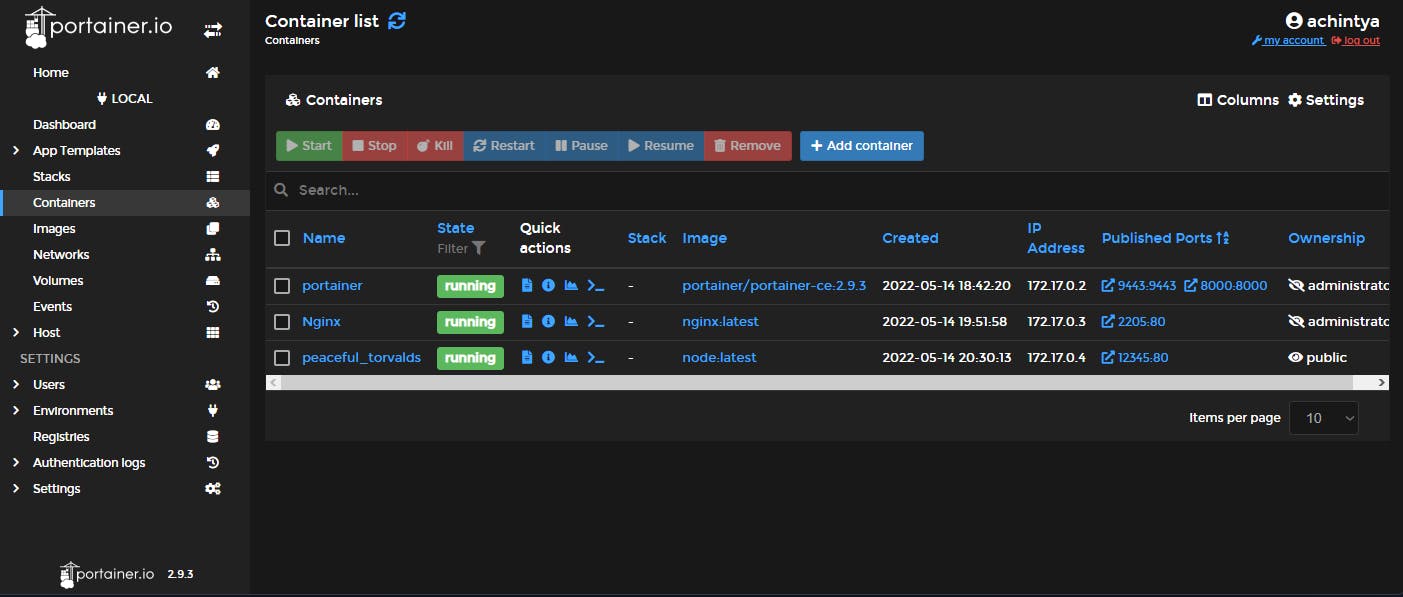
Let's re-login to our main account and we can see that there are 3 containers now. I being an admin can manage all 3 of them.
Conclusion
I have provided some basic use cases and examples of using Portainer like making Containers and assigning Roles. You can do much more with Portainer like writing custom templates and adding more environments. You can also look at their official documentation here.
If you've reached so far thanks for reading. Hopefully, this blog has helped you get a better understanding of how to use portainer.